Haida Gwaii Part 1 – Planning the Adventure of a Lifetime
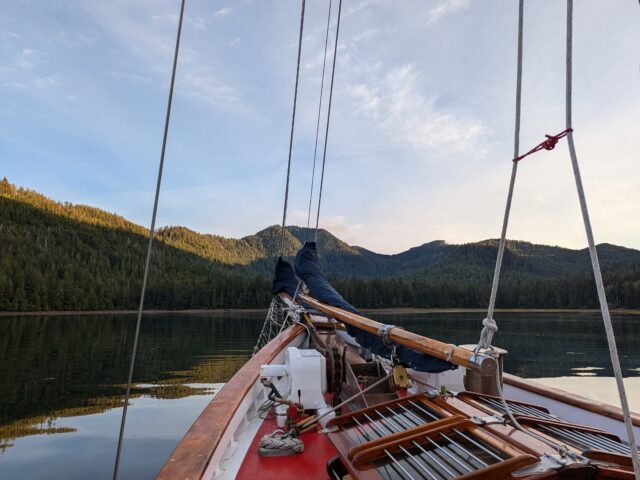
Last year, 2024, Jenn and I embarked on one of the most amazing and impactful adventures of our lives. In my case at least, THE most amazing and impactful adventure
Read MoreHaida Gwaii Part 1 – Planning the Adventure of a Lifetime