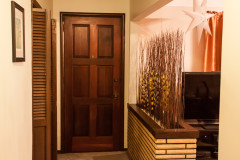
When we bought our house a few years ago, we knew it would need a bit of work; some major, but mostly little things, or things that could be done over time without rushing. But it is amazing how big of a difference some creativity and about $100 worth of materials can make.
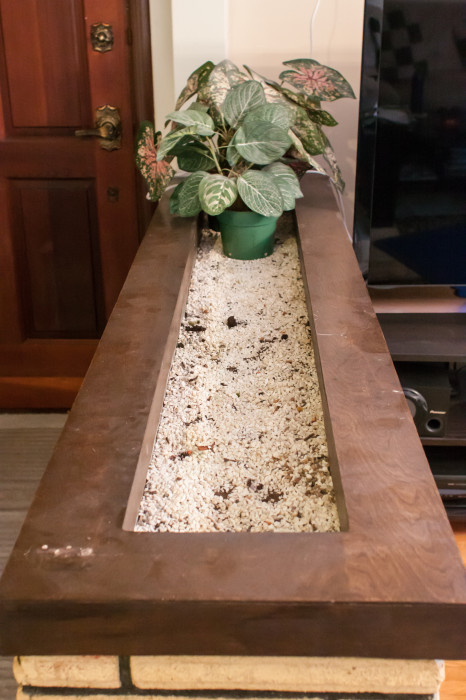
This planter is a built-in permanent fixture at our front entryway, and with it came the same fake plants you see here – for free! We did try putting some other (real) plants here, but we get so little light in this area that plants just didn’t do well here at all. We knew we wanted to do something different with this space for some time, and hit upon an idea while browsing Ikea.
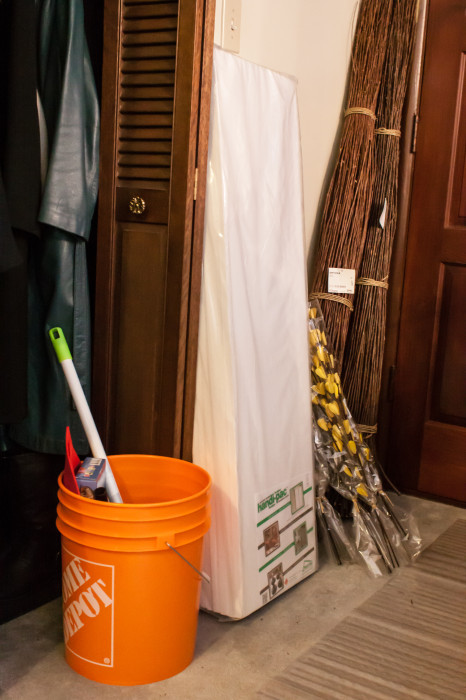
We bought two bunches of decorative willow sticks (SMYCKA) and some bouquets made from dried palm leaves and bamboo shaped like flowers (TORKA) from Ikea, some styrofoam sheets and a bucket from Home Depot, and some rainbow aquarium gravel from Big Al’s, and set to work.
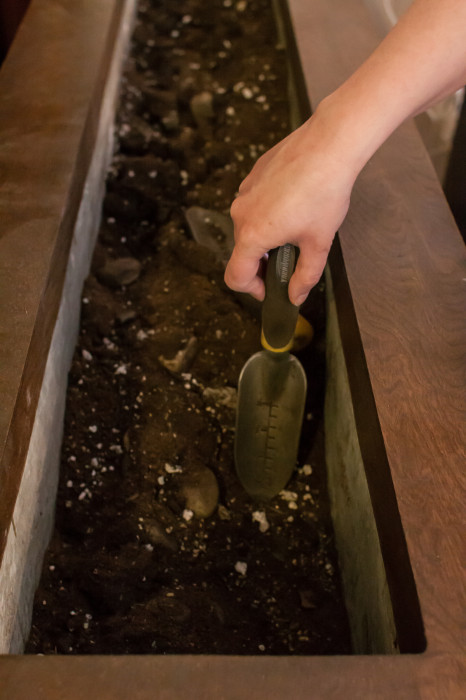
The first task was obviously to remove the existing gravel and dirt. We sifted as much of the old gravel out as possible, as we decided to reuse it for the new setup. We found out that they apparently must have had real plants in the planter at one time, as we found dried up bits of prickly pear cactus while digging (in fact, I found them quickly while sifting through there with my bare hands). We also found rusty screws, chunks of concrete, and larger gravel and stones throughout the bottom.
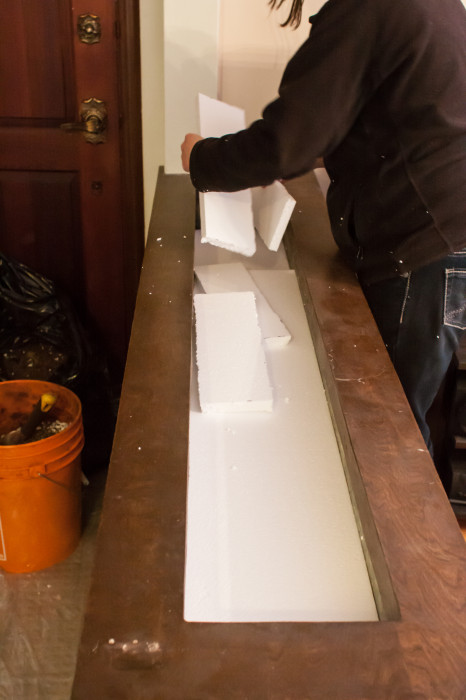
The next step was measuring the inside of the planter, and cutting the styrofoam sheets to fit. This was pretty easy with a bit of math and a utility knife, though we did the cutting out in the garage to avoid getting foam bits everywhere. Once cut, we laid the foam boards in layers, and filled any remaining gaps with scraps (so as not to be wasting gravel in them).

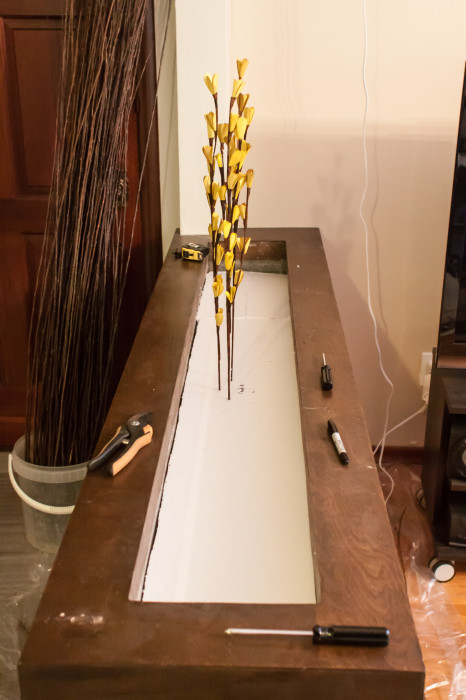
After that, we marked out approximately where each of the TORKA flowers would be planted. We used a screwdriver to create holes for each stem and pushed them in so that they fit snugly. We then trimmed a handful of the SMYCKA sticks to the approximate height of the flowers and installed them in between and around them as a buffer, using the screwdriver to prep holes for each.
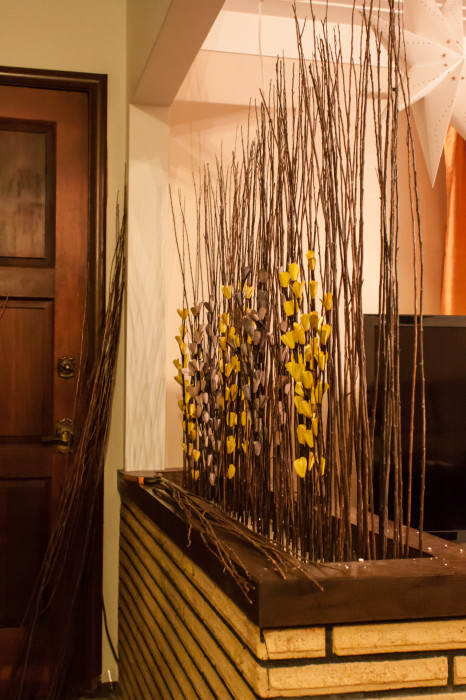
Once that was built up, we trimmed more to taller heights to fill in the back and edges. We started out by planting more sparsely than we knew we would want and then filled in with more density as we went.
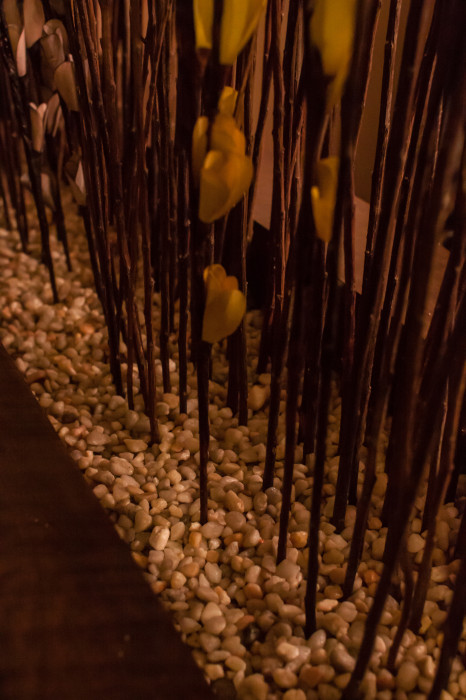
Lastly, once we were happy with the “plantings”, we filled the bottom with gravel. We used the reclaimed gravel from the original planter first, and then laid the aquarium gravel over top, and spread it evenly over the surface.
The end result?
A “designer” entry showpiece that looks great and only cost us about $100 in materials.
The bonus? Our chinchillas love chewing on the leftover willow sticks, as well as the seagrass twine that came wrapped around it (unfortunately I don’t have a photo of them enjoying these treats).
Next project coming up: Redoing the basement bathroom…

